The 7 Steps to Forging the Perfect Sword
Step 1: Choose the Metal
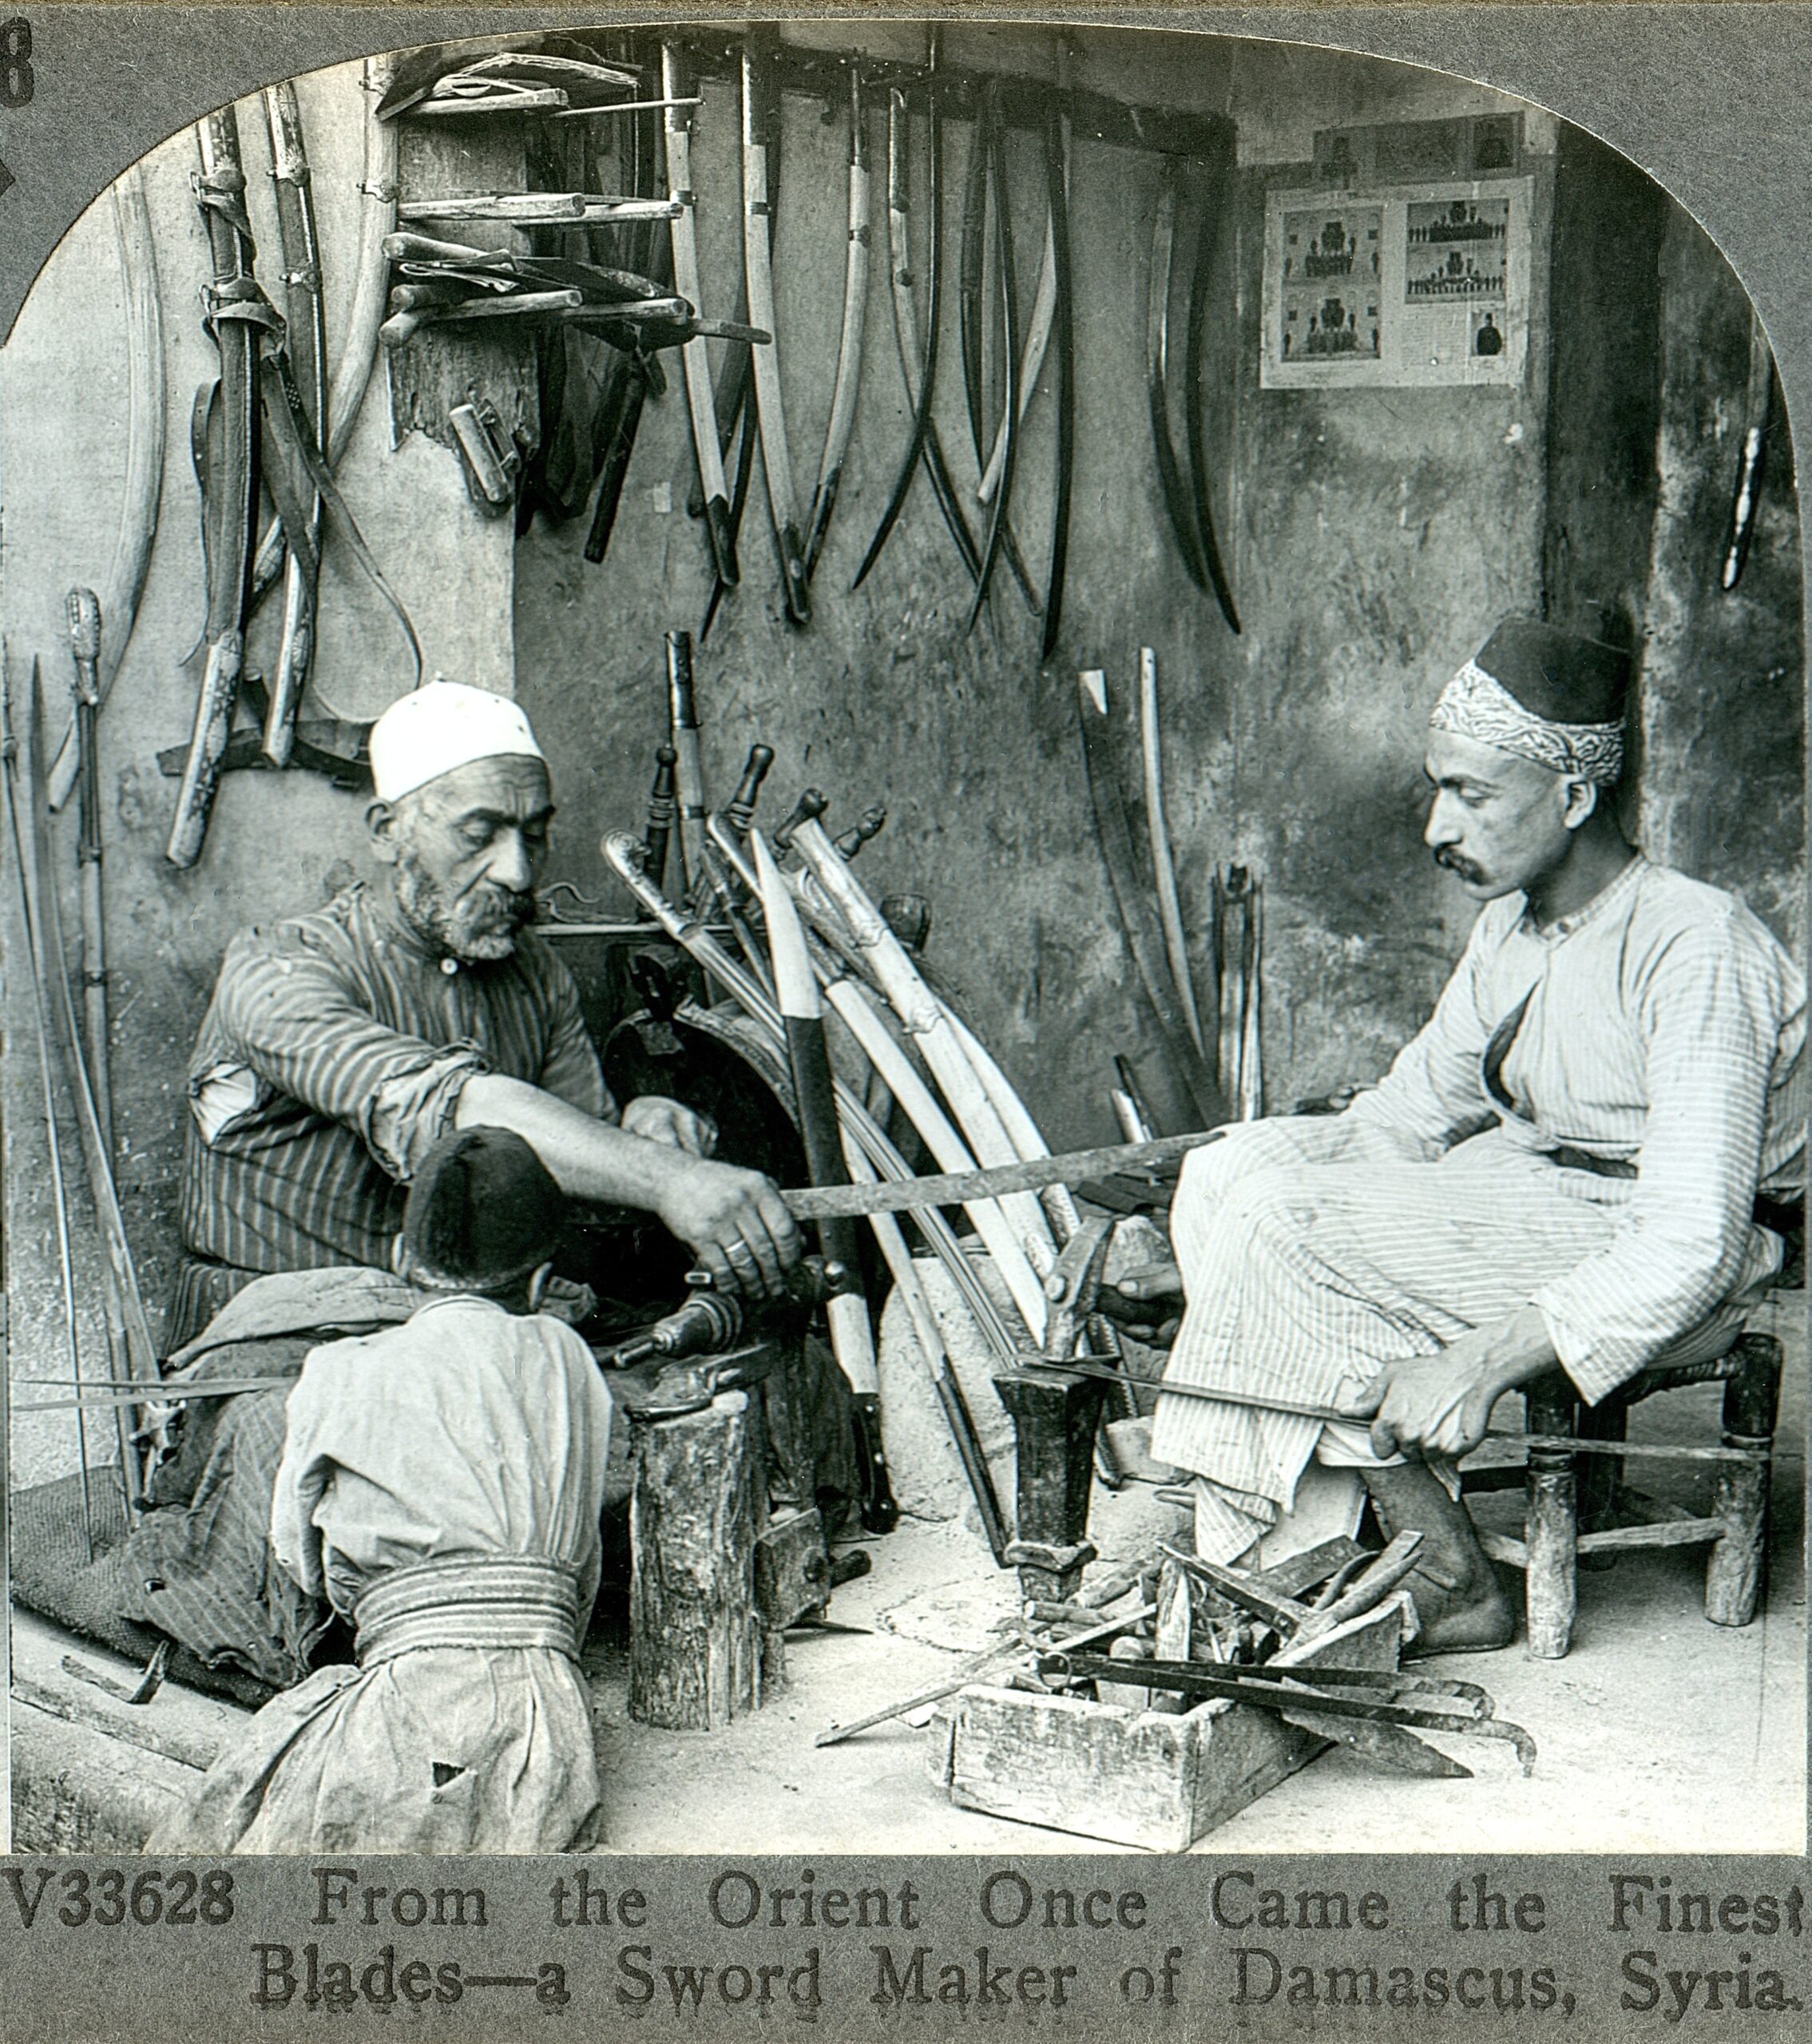
The single most important aspect of a good sword was the material it was made from. It needed to be light and strong, flexible but not brittle, and capable of achieving a sharp edge and point.
Iron is soft and will not hold an edge well. Steel can be sharpened and will hold an edge, but the increase in hardness makes it much more brittle. The ideal trade off was a weapon that has a flexible iron core and a sharp steel edge welded on.
Step 2: Forging
The best swords are fusions of iron and steel and the only way to successfully put the two together is to forge them. The superheating of the metals creates thousands of tiny welds that unite them. An added bonus of forging is that any impurities in the metal are spread evenly around the blade, reducing the chances of failure through stress. This can cause the blade to bend or even snap – not good in the midst of battle. Bars of good grade iron were twisted in a regular pattern. This working further disaggregated any impurities. The bars were welded together to make a solid core and the steel edge was then welded on.
A channel was opened around the edge of the core and the steel was welded into this. Closing the channel locked the steel into place, making a strong bond.
Step 3: Annealing
Iron and steel were hammered into a blade shape and then heated until the metal ceased to be magnetic. This made the metal soft enough to work easily for shaping. It was essential to heat the blade along its entire length to get a uniform finish. The charcoal in the forge needed to be arranged so that the length of the blade was in maximum contact with the flames, to keep all of the blade at the same temperature. The sword had to be cooled very slowly: either the fire was allowed to cool, or the sword was buried in hot sand that retained heat.
Step 4: Grinding
A variety of methods were used to grind a blade, from water powered wheels down to sand on a piece of leather, although hand files, and stone wheels and hones were generally used. The blade was moved through a variety of grinds, the grit gradually getting finer until the desired shape was achieved.
The main point of grinding was to remove the material that could not be easily removed by forging.
The fuller was also finished at this stage, having been forged in earlier. A fuller is often described as a blood groove and is said to allow a sword to be pulled out easily, but this is not true. The fuller lightened the blade and increased its strength.
Step 5: Hardening
The sword was reheated to a dull orange, until non magnetic. It was essential not to overheat the point and edge as carbon can easily burn out of the steel. Knowing his forge was essential for the swordsmith.
The sword was then quenched in water. A thermal jacket formed around the blade from the steam, so movement was essential to allow for a better quench. This process aligned the crystalline structure in the iron and steel and promoted grain growth.
Step 6: Tempering
The blade was brittle after hardening, so it had to be reheated precisely. This was done using colour. Heated metal glows different colours depending on its temperature. For tempering, the swordsmith heated the blade until the edge was a straw colour and the centre, where more metal was, a deep purple. The blade was then allowed to cool slowly, thus allowing some flex back into the blade to ensure it did not snap in use.
Step 7: Completion
The blade was forged, but it looked a sorry state: dirty and blackened, so it had to be cleaned thoroughly. Abrasives were used to scour away the forge detritus. The blade was polished slowly, using gradually less coarse media. After a final sharpen, the blade was etched in a caustic medium to highlight the contrast between iron bands and steel. This created the patterning that pattern-welded sword are famous for.
The hilt of a fine sword was always on display, so jewelled, precious metal hilts with prestige materials such as exotic wood or ivory were used. The hilt was composite and the pommel and guards were adjusted to balance the blade for its owner. The scabbard was similarly made of fine wood, bound in leather and lined with sheepskin. The lanolin in the lining helped maintain the blade.
0 Comments